|
DeeDee W (click here for studio policies)
|
|||
|
April 11th
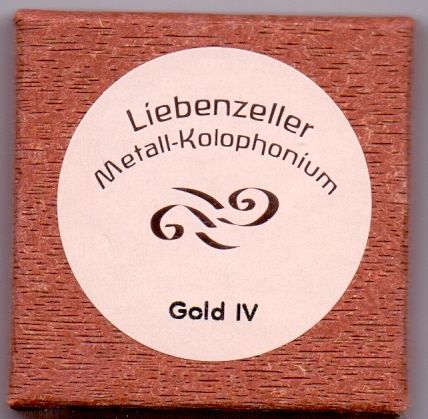
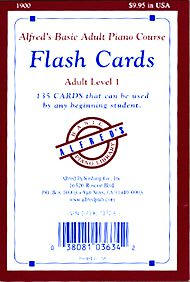
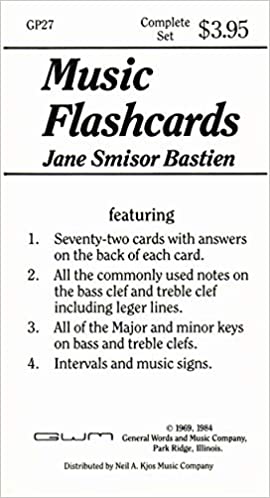
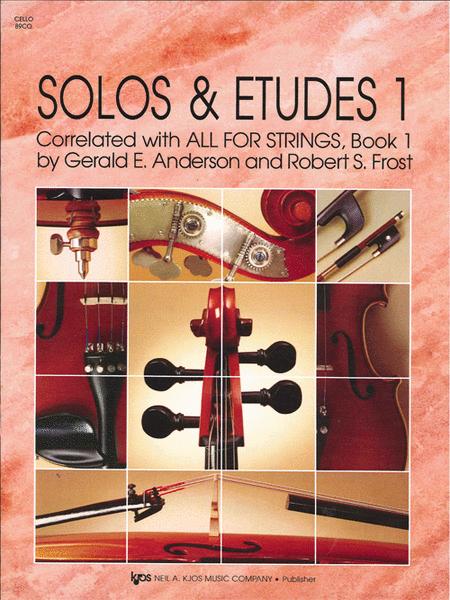
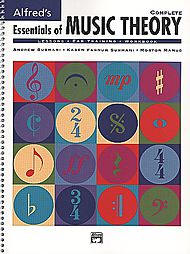
Please purchase the following materials:
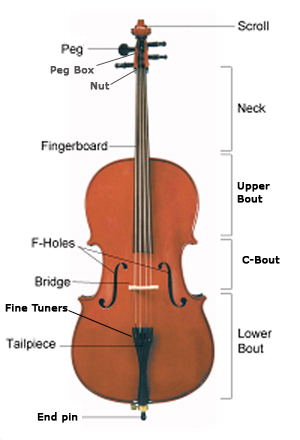
Start working on memorizing parts of the cello:
|
|||
|
1) Playing Posture
-While sitting on the edge of your chair, first
unscrew the end pin knob and pull the end pin out the appropriate length. Screw the end pin knob tight again.
-Bring the left hand over the bottom of the
C-bout and push the cello forward to your leg. Then bring the LEFT HAND over the saddle located
at the top of the body of the cello and your RIGHT HAND
to the top of the C-bout.
-Lift the cello around the chair and dig the end pin into the carpet in front of the chair you're sitting in to place the cello between your legs. -Your feet should be flat on the floor, and ensure your back is straight. You should almost be leaning into the cello a little bit. ( the cello should not push you backward) The neck should be on the left side of your head. The angle of the cello should be about a 45 degrees. The lower peg should be directly behind your left ear. The bottom of the "C Bout" should fit into the knee area on each side of the cello
2) Fingers on the Finger Board - Remember to keep the palm of the hand facing the cello neck ALWAYS KEEP A STRAIGHT WRIST - Fingers should curved at all times and not flat when you press down on the string so the meaty part of the tip of the finger should make contact with the string. - The thumb behind the neck should line up with your middle finger and should be curved behind the neck so your hand is making a "C" shape - When pressing your fingers down make sure that the thumb is mostly relaxed. Use the body for resistance against your fingers when pushing down & not the thumb.
3) Pizzicato (plucking) - Put the tip of your right hand thumb against the corner edge of the finger board and bring the tip of your first finger around to the top of the strings and pizzicato the C-G-D-A Strings. (Cats Go Down Alleys) the C-String is the fattest string)
4) Bowing - Take your ring finger and place it over the metal piece of the frog then take your middle finger and place right next to your ring finger. The middle finger should be touching the bow hair. Then roll your fingers down over the stick. - Then take your thumb and place it next to the the stick where it meets the frog. (your thumb should be slightly curved at all times) - Your pinky should come over the stick and be sitting over the eye of the frog but NOT necessarily be touching the eye. - Your index finger should spread out over the stick so it lays between your first and second knuckle - The fingers should fall straight down over the wood, like a waterfall and be very curved at all times. - The wrist should be straight.
|
|||
|
Copyright © 2005 Colorado Music Lessons. All Rights Reserved. |
|||

