|
|
||||
|
Cassandra E (click here for studio policies)
|
||||
|
January 18th
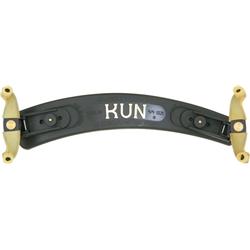
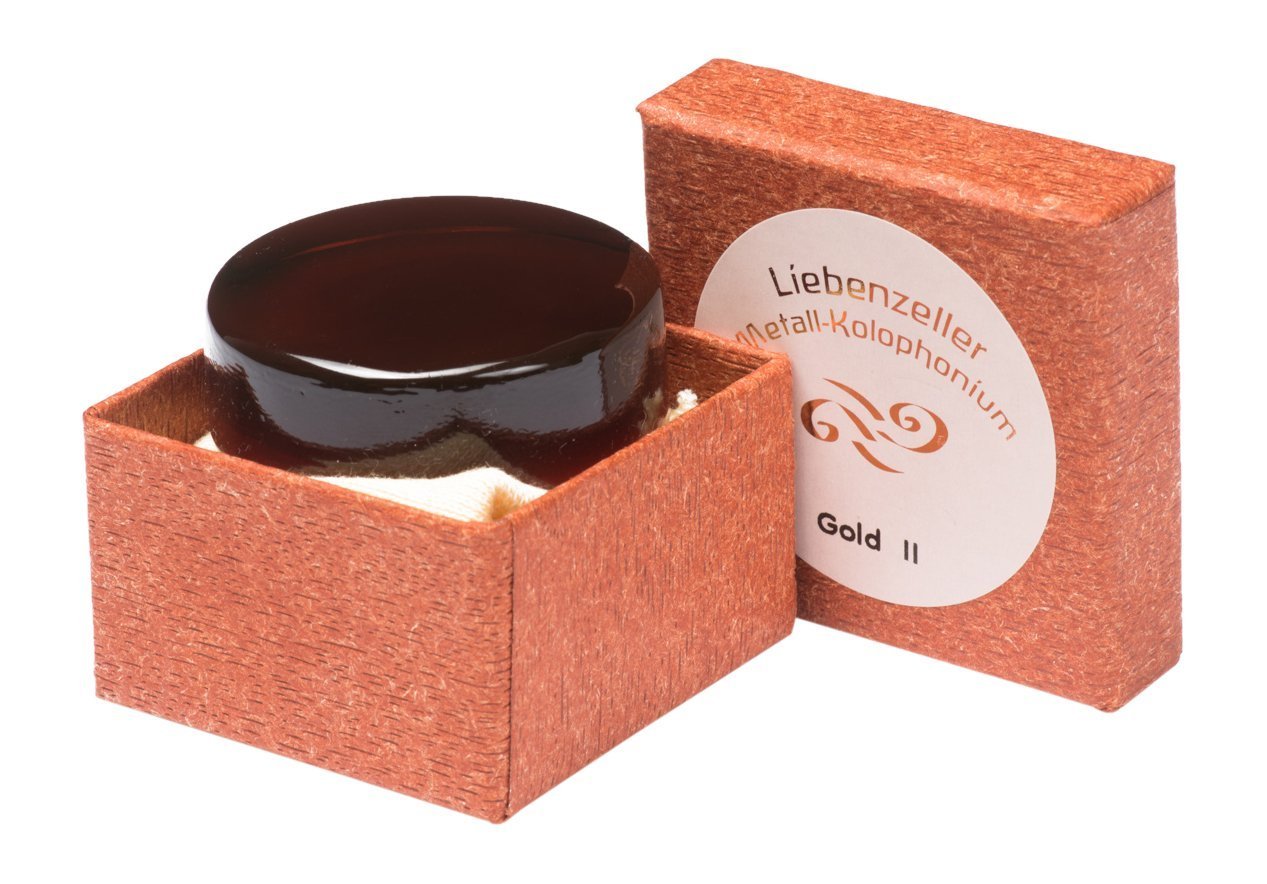
1) Please purchase the following materials:
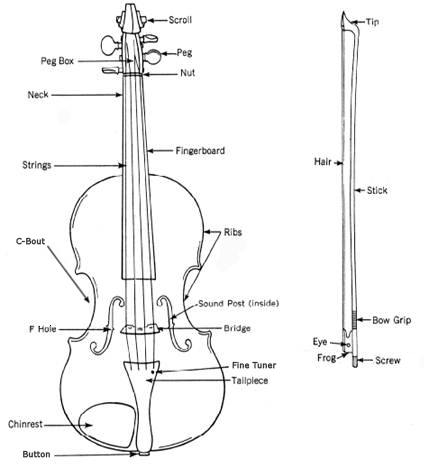
Please learn the parts of the violin:
|
||||
|
1) Scales - Start with an Open String, then place 1st, 2nd, & 3rd fingers down in order, then move to the next Open String and repeat the process and then go back down the way you came up.
G-Scale - G, A, B, C, D, E, F#, G and go back down (say notes out loud as you play) D-Scale - D, E, F#, G, A, B, C#, D and go back down (say notes out loud as you play) A Scale - A, B, C, D, E, F#, G#, A and go back down (say notes out loud as you play)
___________________________________________________________
1) Sitting Posture- sit on the right corner edge of your chair, feet flat on the floor, and straight back.
2) Concert Rest - while sitting, hold violin upright on the left knee & hand gripping the body of the violin with your left hand on the top.
3) Playing Posture- bring your violin up to left shoulder. It should come straight out with the back of the chin rest against the neck. Side of chin should fit snuggly into the chin rest. The violin will be tilted at 45 degrees. (You should be able to hold the violin with out any hands if done properly.)
4) Pizzicato (plucking)- With the violin up in playing posture, put the tip of your right hand thumb against the corner edge of the finger board and bring the tip of your first finger around to the top of the strings and pizzicato the G-D-A-E Strings. (the G-String is the fattest string)
5) Fingers on the Finger Board - ALWAYS KEEP A STRAIGHT WRIST - First align your (left hand) thumb on the first piece of tape closest to the scroll. - The tip of the thumb should be level to the finger board from the side of the neck and not be sticking out. - Twist your hand around so the fingers can curl up around the neck but make sure the hand is far enough back that the fingers can get over the tape. - Once done check to see if you have a whole between your thumb and first finger underneath the neck of the violin -Be sure to keep your fingers curved at all times and use the tips of the fingers. (the finger nail should NOT be touching the string so keep the fingernails trimmed)
|
||||
|
Copyright © 2005 Colorado Music Lessons. All Rights Reserved. |
||||